

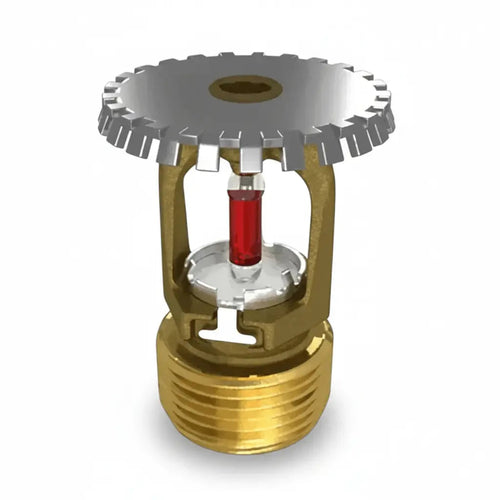


How to Select the Right Pipe Hanger for a Fire Protection System
The right pipe hanger isn’t always the one that matches the pipe diameter. Choosing by size alone can overlook the support function, load, movement, or environmental conditions that affect a fire-protection run. Knowing how to select the right pipe hanger starts with identifying the job the support must perform, then verifying the choice against the approved design and applicable requirements.
Pipe size is a useful starting point, but it’s only one part of the decision. A horizontal run, vertical riser, or group of pipes may need a different support arrangement, and the connection to the building structure matters too. A mismatch can lead to procurement delays or leave important installation details unresolved.
This guide offers a practical selection process. You’ll learn how to match hanger function to the pipe layout, assess load and movement, consider material and environmental compatibility, and check product identification, listings, and project requirements before ordering. The goal is a clear, verifiable choice that supports the fire-protection system as designed.
Key Takeaways
- Learn how to select the right pipe hanger by matching its function to the pipe run, orientation, and movement needs.
- Compare pipe size, material, insulation, load, and contact requirements before narrowing your options.
- Use a step-by-step selection process to organize system details and verify the choice against project documents.
- Distinguish pipe hangers from clamps, guides, anchors, and sway-bracing attachments to avoid mismatched components.
- Improve procurement accuracy by recording the exact component name and checking product details against applicable requirements.
What Does a Pipe Hanger Do in a Fire Protection System?
A pipe hanger is a component that suspends and supports piping from a building structure. In a fire-protection system, it helps carry the pipe’s weight and maintain its intended position along the route. A hanger is one part of the support arrangement, not a catch-all term for every component that holds or controls pipe.
That distinction matters when selecting and purchasing components. A sprinkler pipe may run horizontally below a ceiling, rise vertically, or pass through an area where movement needs to be controlled. The support hardware must suit the specific job and match the approved design. A mismatch can contribute to sagging, unwanted movement, or added stress on connected piping and joints.
How pipe hangers differ from other pipe supports
“Pipe support” is the broader category. It includes hardware that carries pipe weight as well as components that restrain, guide, or attach the system to the building. A hanger typically suspends a pipe from above. Other support arrangements may bear pipe from below or support multiple lines together. The fire sprinkler system components work together, so identifying each component’s function helps prevent different hardware from being treated as interchangeable.
Consider a horizontal sprinkler main beneath a structural member. A hanger carries the pipe’s weight at its designed support point. Depending on its design, a clamp may grip or connect a pipe, or attach support hardware to the structure. A guide helps control the pipe’s path while allowing movement specified by the design. An anchor fixes a point to limit movement. Sway-bracing components help resist lateral movement, which is a different role from carrying the pipe’s weight.
These roles can be part of a coordinated arrangement, but one component shouldn’t be assumed to replace another. For example, a hanger alone isn’t automatically a substitute for a specified sway brace. Likewise, a brace attachment isn’t itself a pipe hanger. Correct identification keeps the parts list aligned with the intended function.
Why fire-protection piping needs a system-aware choice
Pipe material and outside diameter affect the contact and fit required at the hanger. Layout matters too: a horizontal run and a vertical riser present different support conditions. Insulation, nearby structure, and expected movement may also affect the choice. Selecting by nominal pipe size alone can miss these details.
Operating conditions and the project’s documented design matter as well. Fire-protection piping is part of a system intended to deliver water where required, so its supports need to preserve the specified arrangement rather than introduce avoidable movement or strain. Confirm the hanger’s intended use, product documentation, and any listing or approval requirements against the project documents and applicable requirements. Don’t assume one hanger style suits every installation.
This is the practical starting point for how to select the right pipe hanger: identify whether the component must suspend, guide, restrain, or brace, then verify that its documented application fits the pipe run. Clear component names and functions make the next steps, comparing hanger types and checking product details, more reliable.
Which Pipe Hanger Type Fits Your Pipe Layout?
Start with the pipe’s orientation, then consider how the support must carry the pipe or accommodate movement. A horizontal sprinkler main, a vertical riser, and several parallel pipes create different support conditions. Type names are a useful starting point, but the approved design and product documentation determine whether a specific component is suitable.
Hangers for horizontal and vertical pipe runs
Clevis hangers are a common example of hardware used to suspend horizontal pipe from above. Riser clamps serve a different arrangement by supporting vertical piping at designated points. A band or swivel-ring style may suit other specified layouts, while a trapeze arrangement can support multiple pipes where the design calls for a shared support. These are general categories, not interchangeable prescriptions.
Read the drawings for the pipe route, support location, and attachment detail. Then compare those details with the hanger’s documented application. A type that sounds right may still be unsuitable if its size, connection, or intended orientation doesn’t match the design.
When movement or adjustment changes the choice
Some support categories address movement or adjustment rather than simply suspending pipe. Sliding supports allow specified travel along a route; roller supports are used where the design calls for rolling movement. Spring supports accommodate movement under changing loads, while adjustable supports allow positioning changes within their designed range. Don’t select one by category name alone. Confirm the permitted movement and application in the project documents and product information.
Seismic restraint is a separate design consideration. Use the project’s engineered bracing requirements to identify the required bracing components and attachment points. Don’t assume a pipe hanger provides seismic restraint unless the approved design and documentation specify that function.
| Type | Typical function | Layout cue | Project-specific caveat |
|---|---|---|---|
| Clevis hanger | Suspends pipe | Horizontal run | Verify size, attachment, and listed application. |
| Riser clamp | Supports vertical pipe | Vertical riser | Confirm placement and load requirements in the design. |
| Trapeze support | Supports multiple pipes | Parallel runs or shared support location | Verify the complete assembly and structural attachment. |
| Sliding or roller support | Accommodates specified travel | Run requiring movement | Check the designed direction and range of movement. |
| Spring or adjustable support | Accommodates movement or positioning | Specified load or adjustment condition | Follow engineered requirements and product documentation. |
No single hanger type is universally best. The right choice depends on the run’s orientation, support function, and documented movement needs. To make how to select the right pipe hanger a repeatable process, identify the layout first, shortlist the categories that match it, then verify dimensions, attachment, and approval requirements against the project documents.
For projects that also specify restraint hardware, review related fire-protection support hardware by its exact component function. Keep bracing attachments distinct from pipe hangers, and match each part to the approved design.
What Should You Compare Before Selecting a Pipe Hanger?
Once the pipe layout is clear, gather the details that determine fit and suitability. A product name or nominal pipe size alone won’t show whether the hanger matches the pipe’s actual dimensions, contact surface, support conditions, or project requirements. Build a selection record before comparing products so each candidate can be checked against the same information.
Pipe dimensions, material, and surrounding conditions
Start with the drawings and pipe schedule. Record the pipe material and nominal size, then verify the outside diameter used for component selection. If the pipe is insulated, note the insulation type and thickness. The hanger’s intended contact or attachment method must suit the documented arrangement. Don’t assume a bare-pipe fit will work with insulation in place.
Next, consider where the run is installed. Exposure to moisture, chemicals, temperature changes, or other corrosive conditions can affect material suitability over time. Use product documentation and project specifications to verify compatibility. A particular finish or material description doesn’t by itself prove that a component is suitable for a specific environment.
Also note how the hanger connects to the building structure and whether the design calls for a direct attachment or additional hardware. Keep the component roles distinct: a pipe hanger, structural attachment, and sway-bracing component may be separate items with separate requirements. Confirm that the selected parts match the documented assembly.
Load, spacing, movement, and compliance checks
After confirming dimensions and surroundings, review the support conditions. Use the approved design documents to identify the load each support must carry and the specified spacing along the run. Don’t apply a generic spacing interval or assume that a product’s apparent size establishes its load suitability. Verify the exact component’s documented capacity and application against the project requirements.
Check whether the piping is expected to move and what movement the design allows. Ordinary support and seismic restraint are not interchangeable functions. Where seismic bracing is specified, follow the engineered bracing layout and verify the required attachments separately. Product documentation should support the intended use, not just resemble the component shown on a drawing.
Before selection, collect the pipe’s outside diameter, nominal size, material, insulation details, installation environment, support load, required spacing, movement conditions, attachment method, and applicable project specifications.
- Check listings and approvals: Match any required listing or approval to the exact product and its documentation.
- Review manufacturer instructions: Confirm the specified pipe range, installation orientation, connection method, and use limitations.
- Resolve conflicts through project documents: Use the approved design and applicable requirements to guide the final choice.
This comparison makes how to select the right pipe hanger a documented fit decision rather than a guess based on size. Keep the selection record with the product information so procurement can compare the exact component, attachment, and required documentation before ordering.
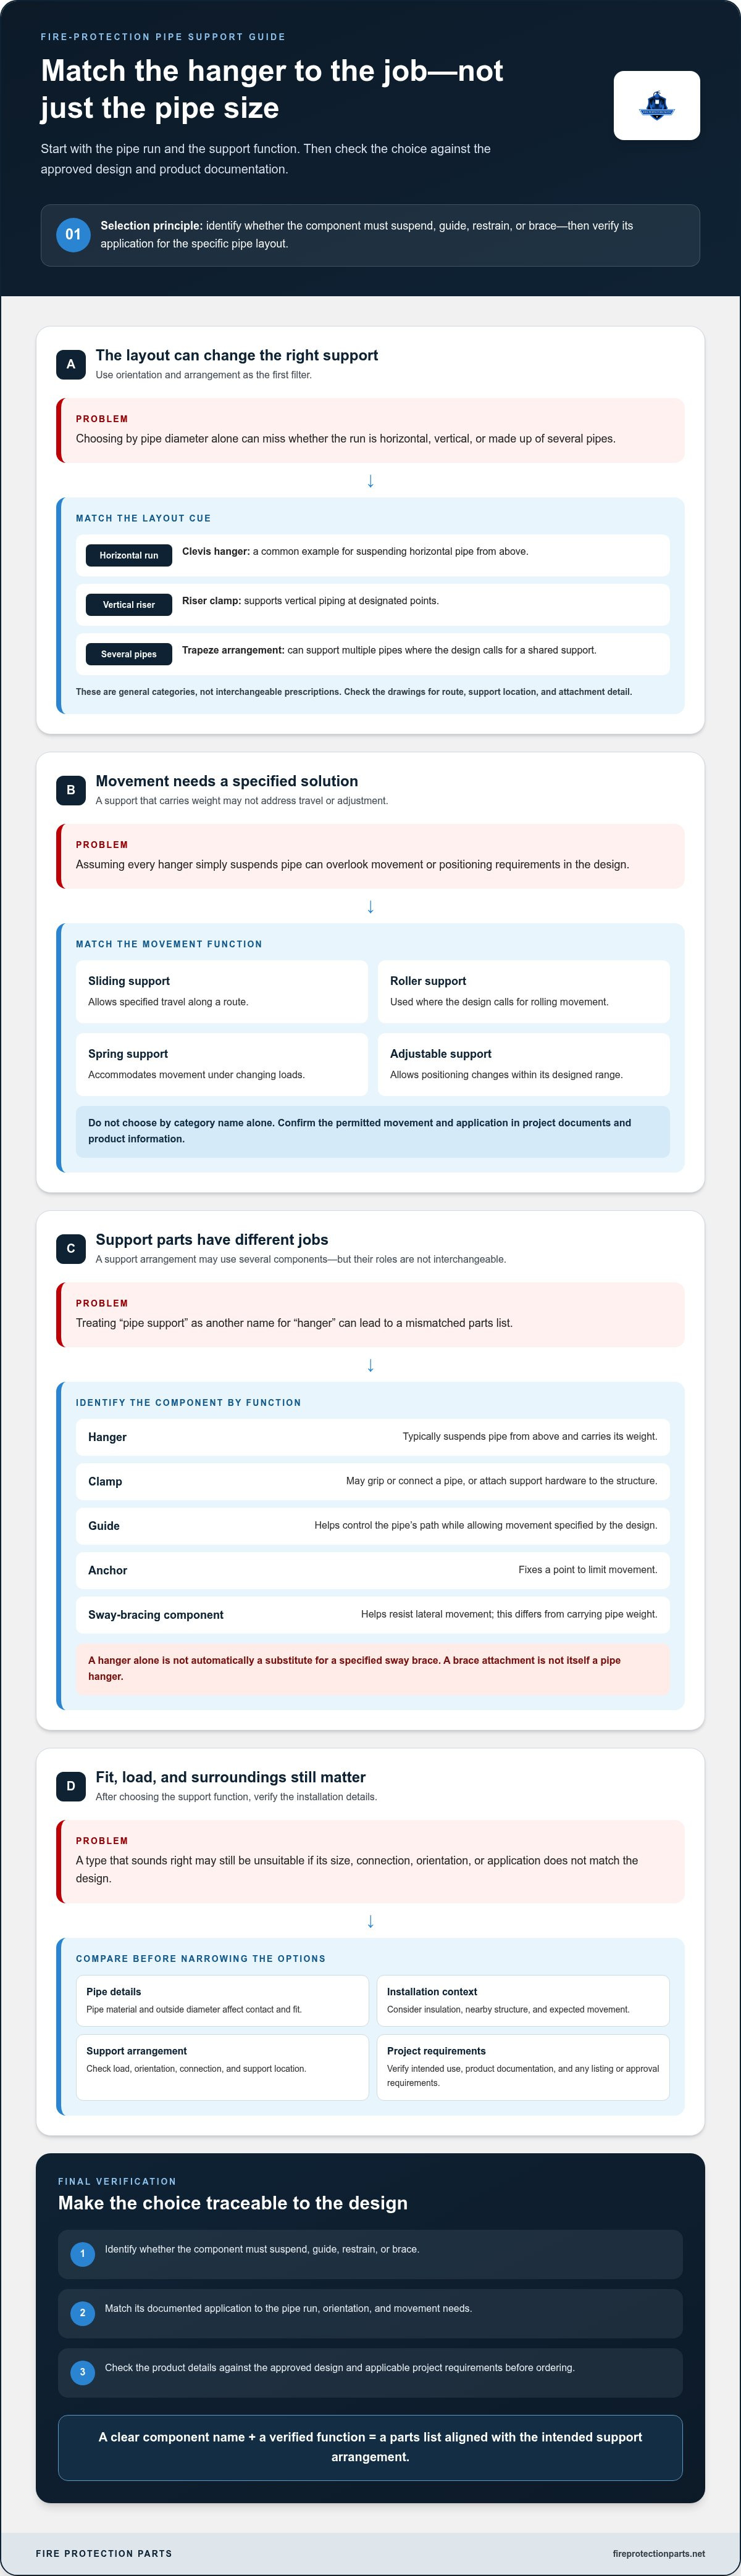
How to Select the Right Pipe Hanger Step by Step
A reliable selection process moves from system information to product verification. Don’t begin with a catalog image or a familiar type name. Start with the approved design, identify the support’s job, and compare candidate components against the documented conditions for that specific pipe run.
- Identify the pipe run and its documented details. Locate the relevant plans and specifications. Record the run’s orientation, pipe material, nominal size, outside diameter, and insulation details. Note the structural attachment point and any environmental or operating conditions shown in the project documents. These details create the baseline for comparing products.
- Define the component’s function. Decide whether the component must suspend the pipe, guide its path, restrain movement, or accommodate movement. These functions aren’t interchangeable. If the plans specify seismic restraint, treat it as an engineered bracing requirement, not as an assumption about the hanger. The seismic bracing guide can help clarify the separate role of bracing in sprinkler systems.
- Shortlist types that match the layout. Use the run orientation and required function to narrow the options. For example, a horizontal run and vertical riser may need different support arrangements. Compare only products documented for the intended pipe size, material, orientation, and connection. A general category description is a starting point, not proof of suitability.
- Verify fit and support conditions. Check the product’s specified pipe range, contact or attachment method, and any insulation requirements. Then compare documented load capacity with the design requirements. Confirm support spacing and attachment locations from approved plans and applicable project guidance; don’t substitute a generic spacing rule. Check that any required listing or approval applies to the exact component being considered.
- Document the selection before ordering. Record the selected component’s exact name and identifying details, its intended function, and the product documentation used to verify it. Include the applicable plan or specification reference and any project-specific approval decision. If a required detail conflicts across documents, resolve it through the project’s design and approval process before procurement.
This sequence makes how to select the right pipe hanger a traceable decision instead of a size-only guess. It also gives procurement a clear record to compare against the item description, reducing the risk of ordering a similar-looking but functionally different component.
Use your selection record to review relevant fire-protection components and related support hardware. Match each item to its specified role and product documentation before placing an order.
Where to Source Fire-Protection Pipe Support Hardware
Once the selection record is complete, use it as a procurement reference. A clear record helps distinguish the specified component from similar-looking hardware and makes product details easier to compare. Before ordering, confirm the item’s exact name, dimensions, finish, intended function, and documentation against the approved project requirements.
What to verify on a fire-protection component listing
Read the product description and documentation together. Match the product identity and size to the plans, then check that the described connection, finish, and application correspond to the project. If the record calls for a pipe hanger, don’t substitute an attachment connector or beam clamp simply because it appears in the same support assembly. Each component has its own job.
For example, the 1/2 AF777 Durable Swivel Attachment Connector and Fig 980 Universal Swivel Sway Brace Attachment are attachment components, not pipe hangers. The Universal Wide Mouth Beam Clamp is a beam clamp, not a hanger. The AF777 is UL Listed, FM Approved, and NFPA 13 compliant; the Fig 980 is UL Listed, FM Approved, and NFPA compliant; the Universal Wide Mouth Beam Clamp is UL Listed, FM Approved, and NFPA 13 compliant. Apply these claims only to the specific products named, and verify any required listing or approval on the exact item being sourced.
Pipe material is another important cross-check. If the project specifies CPVC, use the pipe manufacturer’s documentation and project requirements to confirm material context and component compatibility. Manufacturer technical guides and buyer documentation provide additional context for sourcing that specific pipe. Don’t treat a finish description or broad product-category label as proof of compatibility.
Continue from selection to sourcing support
Fire Protection Parts focuses on fire-protection system components and related hardware for contractors and other professionals. For efficient sourcing, keep the project documents beside the product listing and compare the details line by line:
- Identity: Confirm the exact component name and function.
- Dimensions and finish: Match the listed details to the selection record and project documents.
- Documentation: Review applicable listings, approvals, and manufacturer instructions for that specific product.
- System fit: Keep the hanger, attachment, clamp, or bracing part aligned with its specified role.
Technical support is available by phone, chat, email, or in-store assistance for product questions. Use that support to interpret product information alongside your selection record. Project approval and final requirements remain governed by the approved design and applicable authority.
With the component identified and its documentation matched to the project, you can move from selection to sourcing with greater confidence. Explore fire-protection parts and related hardware for your system.
Make Your Next Support Decision With Confidence
Use your selection record as a working tool, not just as a step before ordering. Keeping the approved design, product details, and verification notes together makes it easier to resolve questions if the project changes or procurement needs to compare components. That discipline turns how to select the right pipe hanger into a repeatable process for future fire-protection work.
Before finalizing a component, compare its documentation with the project requirements and keep any approval decisions on record. For product-specific questions, Fire Protection Parts technical support is available by phone, chat, email, or in-store assistance. Clear information helps make those conversations focused and useful.
When you’re ready to source related system components, explore fire-protection parts. Take the next step with a documented selection and confidence in the details.
Frequently Asked Questions
Can one type of pipe hanger be used throughout an entire sprinkler system?
A sprinkler system may require different support arrangements for different pipe runs. A horizontal main, vertical riser, and branch line can have distinct orientations, attachment points, and design conditions. Rather than standardizing on one type, compare each location with the approved plans and component documentation. One product may work in multiple locations only when its documented application matches the requirements at each location.
Can I reuse an existing pipe hanger when replacing a section of sprinkler pipe?
Possibly, but don’t assume an existing hanger remains suitable after a pipe change. Replacement pipe may differ in outside diameter, material, insulation, or supported load. Check the hanger for visible damage, corrosion, deformation, and secure attachment, then compare its documented application with the revised project requirements. If the modification changes the support arrangement, use the project’s approval process to determine whether reuse is appropriate.
Do pipe hangers need to match the pipe material?
Not necessarily by being made from the same material, but the hanger must be documented as compatible with the pipe and its conditions. For example, CPVC piping needs a support arrangement suitable for the specified pipe and contact requirements. Review the pipe and hanger manufacturer instructions, project specifications, and environmental conditions together. Don’t assume that a matching finish, material label, or general-purpose description establishes compatibility.
How do I identify the size of an existing pipe hanger?
Start with product markings or labels, if present, and record the hanger’s manufacturer and identifying number. Measure the pipe’s outside diameter separately, since the hanger’s exterior dimensions don’t necessarily show its intended pipe range. Note the hanger type and connection details as well. Compare those observations with product documentation and project records. If the identification remains uncertain, don’t use appearance alone to select a replacement.
Can a pipe hanger attach directly to any ceiling structure?
No. The attachment must suit the structural member and the support detail approved for that location. Don’t assume a ceiling finish or suspended ceiling grid provides the required structural attachment. Check the drawings for the designated attachment point and review the attachment component’s documented application. If the actual structure differs from the plans, resolve the discrepancy through the project’s design and approval process before proceeding.
When should a pipe support be reviewed as part of a system modification?
Review the support arrangement whenever work changes conditions that may affect it, such as rerouting a pipe, changing pipe size or material, adding a branch, or relocating equipment or supports. These changes can affect fit, load, attachment points, or movement. Compare the revised arrangement with approved documents and applicable requirements. Record decisions so the selected hardware and support locations remain traceable to the project’s current design.
What is the difference between a pipe hanger and a seismic brace?
A pipe hanger generally carries or suspends piping, while a seismic brace is part of a restraint arrangement intended to address movement under seismic conditions. They serve different functions and shouldn’t be treated as substitutes. A sprinkler system may require both, depending on its approved design. Follow the engineered bracing layout for brace locations and attachments, and verify each component against its product documentation and project requirements.

